

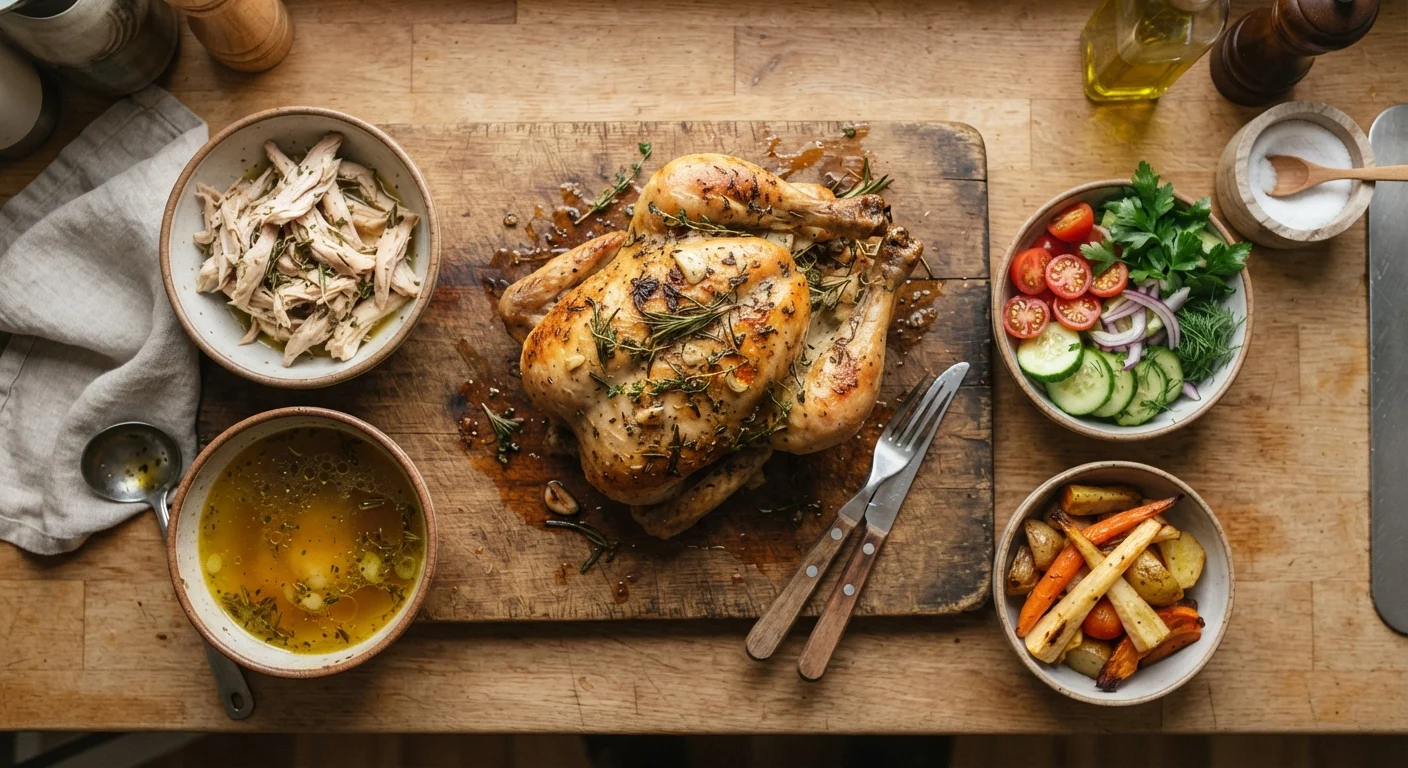
Why one whole chicken goes further than you think
A whole chicken weighing around 4 to 5 pounds contains breast meat, thigh meat, drumstick meat, wing meat, and a carcass loaded with collagen-rich bones. Most families buying boneless breasts or rotisserie pieces use the meat once and discard everything else. That habit throws away real value.
When you roast or poach a whole bird yourself and extract every usable part, the cost per meal drops considerably. The bones alone produce 8 to 12 cups of broth that replaces a store carton you would otherwise buy. If you are new to thinking this way, the guide to frugal cooking basics covers how this approach fits a broader budget strategy.
The five meals described here are intentionally varied so your family is not eating the same plate repeatedly. Meal 1 is a simple roast chicken dinner. Meal 2 is a chicken and vegetable soup made from the carcass broth. Meal 3 is a chopped chicken salad. Meal 4 is chicken tacos. Meal 5 is a fried rice or grain bowl using the last of the shredded meat.
What you will need
Step-by-step: from one bird to five meals
Follow these steps in order. The roast happens first, then the breakdown, then the broth, and finally the assembly meals. Each step feeds into the next, so nothing goes to waste.
Roast the whole chicken for meal 1
Pat the chicken dry, rub it with oil or softened butter, season generously with salt and pepper, and roast at 425 degrees Fahrenheit until the thickest part of the thigh registers 165 degrees Fahrenheit on a meat thermometer. This typically takes 60 to 75 minutes for a 4 to 5 pound bird. Serve with roasted vegetables or a simple salad for your first meal.
Carve and shred all remaining meat
After serving meal 1, strip every piece of meat from the carcass while the bird is still warm. This is easier than doing it cold. Separate the meat into two portions: breast meat for the salad and grain bowl, thigh and drumstick meat for tacos and soup. Store both portions in labeled containers in the refrigerator.
Simmer the carcass into broth
Place the stripped carcass in a large stockpot. Add 1 halved onion, 2 celery stalks, 2 carrots, 4 garlic cloves, 2 bay leaves, and enough cold water to cover everything by 2 inches. Bring to a boil, then reduce to a gentle simmer for 2 to 3 hours. Strain through a fine-mesh strainer and discard the solids. Season lightly with salt.
Build meal 2: chicken and vegetable soup
Use 6 to 8 cups of your fresh broth as the base. Add diced carrots, celery, onion, and a handful of egg noodles or cooked rice. Stir in a portion of the shredded thigh meat and simmer until vegetables are tender, about 20 minutes. Season to taste. This soup stretches a small amount of meat across a full pot for a family of four.
Assemble meal 3: chopped chicken salad
Dice or shred the breast meat and toss with chopped romaine, cucumber, cherry tomatoes, and cooked grains like farro or barley if you have them. A simple dressing of olive oil, lemon juice, salt, and pepper works well. Adding a hard-boiled egg or canned white beans extends the protein if the breast meat quantity is small.
Make meal 4: shredded chicken tacos
Warm the remaining thigh meat in a skillet with a splash of the broth, cumin, chili powder, garlic powder, and a pinch of smoked paprika. Serve in corn or flour tortillas with shredded cabbage, salsa, and a squeeze of lime. Thigh meat works particularly well here because its slightly higher fat content keeps it moist even after reheating.
Finish with meal 5: chicken fried rice or grain bowl
Use any last scraps of meat, even very small pieces, in a fried rice made with cold leftover rice, eggs, frozen peas, soy sauce, and sesame oil. Alternatively, layer the meat over a bowl of cooked farro or brown rice with roasted vegetables and a drizzle of tahini or soy-ginger dressing. Both options take under 15 minutes to assemble.
Keeping a consistent rotation like this is a practical form of low-waste meal planning that reduces both food waste and the number of separate proteins you need to buy each week. Whole birds also tend to be more forgiving in the oven than lean boneless cuts, a point worth noting if your household sometimes favors darker meat. The case for budget-friendly cuts explains the flavor science behind why thighs and drumsticks often outperform white meat in slow-cooked dishes.
Storage, safety, and making it work for your household
Cooked chicken should be refrigerated within two hours of coming out of the oven. Store shredded meat in airtight containers for up to four days. Broth keeps for five days in the refrigerator or up to three months in the freezer. Label containers with the date so nothing gets forgotten.
Families with more than four people may find that the breast meat runs out before the thigh meat does. In that case, hold back the thighs for the tacos and use the breast for the salad, where a smaller quantity still works well with bulky greens and grains. If your Sunday schedule is tight, this look at Sunday meal prep can help you decide which parts to do ahead and which to leave until the evening meals themselves.
If batch cooking is new to your household, it is worth reading a balanced assessment of what it actually delivers before committing a full Sunday to it. The overview of batch cooking trade-offs covers situations where the method works well and where it does not.
This article is for general informational purposes only. Food safety guidelines referenced here are broadly consistent with USDA recommendations, but always verify current guidance from your local food safety authority for your specific situation.
The content provided on our blog site traverses numerous categories, offering readers valuable and practical information. Readers can use the editorial team’s research and data to gain more insights into their topics of interest. However, they are requested not to treat the articles as conclusive. The website team cannot be held responsible for differences in data or inaccuracies found across other platforms. Please also note that the site might also miss out on various schemes and offers available that the readers may find more beneficial than the ones we cover.