

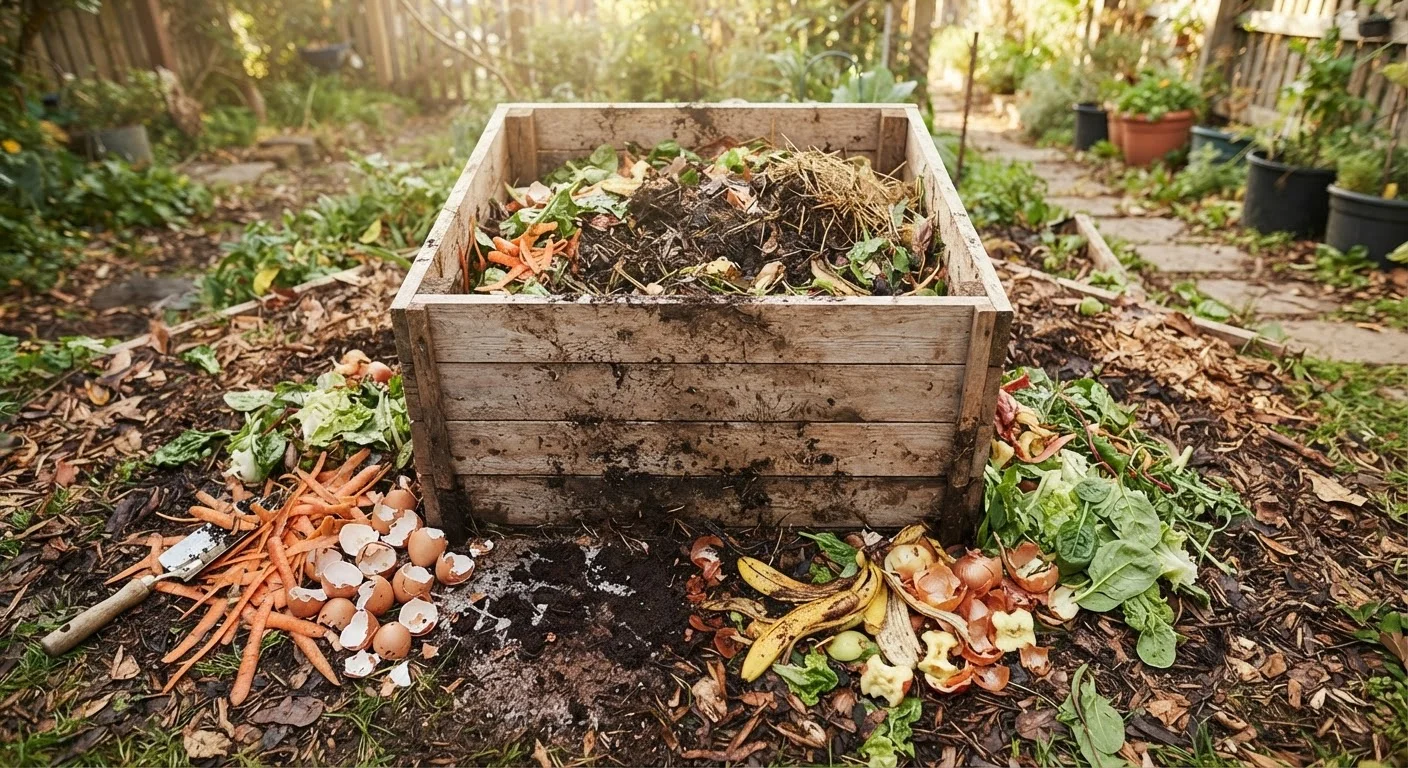
Why composting makes financial sense for a home garden
A bag of granular fertilizer at a garden center typically costs anywhere from $8 to $25, and most vegetable gardens need two or three applications per growing season. Multiply that across several years and the cost adds up fast. Composting turns the scraps your household already generates into an equivalent product at no ongoing cost.
The connection between kitchen habits and garden health runs in both directions. If your family is already reducing food waste through meal planning, the scraps that do exist, onion skins, coffee grounds, vegetable trimmings, become an input rather than trash. See our guide to planning meals around what you own for a system that naturally generates consistent, compostable scraps.
Beyond fertilizer replacement, compost improves soil structure over time. It helps sandy soil retain water and loosens clay soil so roots can grow more freely. That means less money spent on soil amendments and less watering overall. If you are starting a home garden on a limited budget, building compost from day one sets you up for healthier plants without extra spending.
What you need before you start
Composting does not require specialized purchases. A bin can be as simple as a wooden pallet enclosure, a large plastic storage bin with holes drilled in the sides and bottom, or a dedicated spot in a back corner of the yard. Purpose-built compost tumblers do exist, but they are not necessary to get started.
What you will need
Compost bin or enclosure
Contains the pile, retains moisture and heat, and keeps the yard tidy.
Kitchen scrap collection container
Collects food scraps on your counter between trips to the outdoor bin.
Garden fork or pitchfork
Turns the pile to add oxygen and speed up decomposition.
Drill with 1/2-inch bit
Needed only if you are converting a plastic storage bin into a compost bin.
Thermometer (compost or candy style)
Lets you check whether the pile is reaching the 130-160 degrees Fahrenheit range that speeds decomposition.
Step-by-step: setting up and running your compost system
Follow these steps to get a compost pile producing usable material within two to four months. Warmer weather speeds things up; winter composting is slower but still works if the pile stays moist and active.
Choose and set up your bin
Place your bin or enclosure directly on bare soil if possible. This lets worms and beneficial organisms migrate up into the pile naturally. If you are on a patio or balcony, a solid-bottom bin works fine. Make sure the bin has ventilation, either gaps between boards or drilled holes on all sides.
Lay a base layer of brown material
Start with a 3- to 4-inch layer of dry leaves, shredded cardboard, or newspaper at the bottom. This layer absorbs excess moisture from food scraps added on top and provides carbon, one of the two main ingredients a healthy pile needs. Tear or shred cardboard into pieces no larger than a few inches so it breaks down faster.
Add your first batch of kitchen scraps
Add fruit and vegetable peels, coffee grounds and paper filters, tea bags (remove any plastic staples), eggshells, and plant trimmings. These are your green materials, meaning nitrogen-rich inputs. Aim for a layer about 2 to 3 inches deep on top of the brown base.
- Yes: raw fruit and vegetable scraps, eggshells, coffee grounds, plant cuttings, grass clippings
- No: meat, fish, dairy, oily or cooked food, pet waste, diseased plants
Alternate green and brown layers
Each time you add a batch of kitchen scraps, cover them with an equal or slightly larger volume of brown material. A rough ratio of 2 parts brown to 1 part green by volume works well for most home piles. This balance prevents odors and gives the microorganisms doing the work both carbon and nitrogen to feed on.
Manage moisture
The pile should feel like a wrung-out sponge: damp throughout but not dripping. Check it every week or two. In dry weather, sprinkle water over the pile after turning. In rainy weather, cover the bin with a lid or tarp to prevent it from becoming waterlogged. A soggy pile loses oxygen and starts to smell.
Turn the pile regularly
Use a garden fork to turn the pile every one to two weeks, moving material from the outside edges into the center. Turning adds oxygen, which speeds decomposition significantly. A pile that is turned weekly can produce finished compost in as little as 6 to 8 weeks during warm months. A pile left untouched will still compost but takes several months longer.
Harvest and use your finished compost
Finished compost is dark brown, crumbly, and smells earthy rather than like rotting food. You may see some unfinished material (chunks of cardboard or large stems) mixed in. Sift those out and toss them back into the active pile. Apply 1 to 2 inches of finished compost to garden beds by working it into the top few inches of soil before planting, or use it as a mulch layer around existing plants.
Common problems and how to fix them
Most compost problems come down to two variables: moisture and the ratio of green to brown materials. A pile that smells like ammonia has too many greens. Add shredded cardboard, dry leaves, or newspaper and turn the pile. A pile that is not breaking down at all is usually too dry or too heavy on brown material. Water it and add fresh food scraps or grass clippings.
Fruit flies are common when scraps are left on top of the pile uncovered. Burying new additions under a few inches of existing material or brown matter solves this quickly. Rodents are attracted to meat, dairy, and cooked food, which is why those items should never go into a home bin. Stick to raw fruit and vegetable scraps, eggshells, and plant-based materials and rodent problems are rare.
Once your compost is dark, crumbly, and smells like fresh earth, it is ready to use. Work it into garden beds before planting in spring, or apply it as a top dressing around established plants. For more on getting your beds ready before the season starts, see our spring garden planning checklist.
The content provided on our blog site traverses numerous categories, offering readers valuable and practical information. Readers can use the editorial team’s research and data to gain more insights into their topics of interest. However, they are requested not to treat the articles as conclusive. The website team cannot be held responsible for differences in data or inaccuracies found across other platforms. Please also note that the site might also miss out on various schemes and offers available that the readers may find more beneficial than the ones we cover.